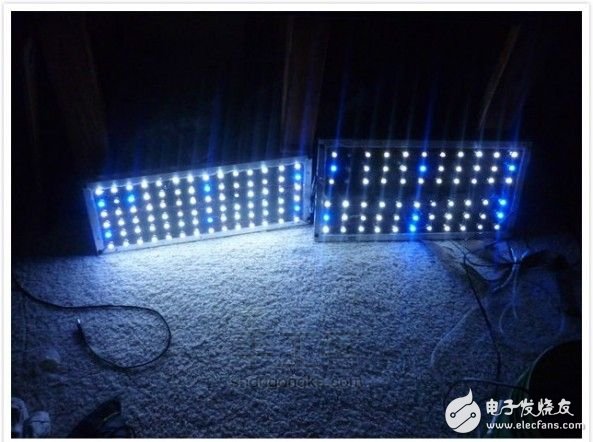
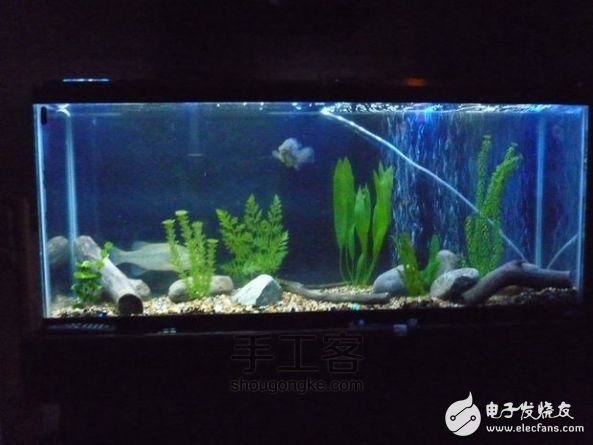
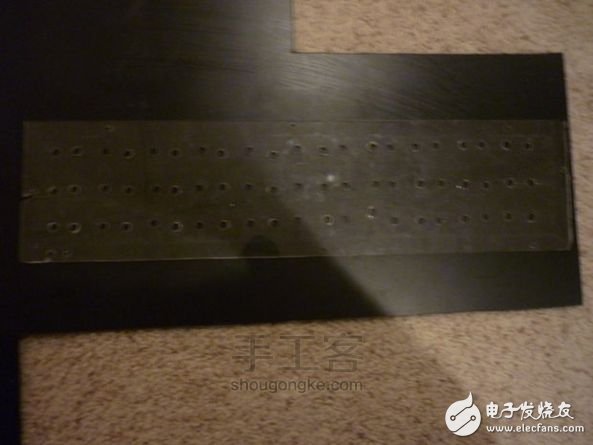
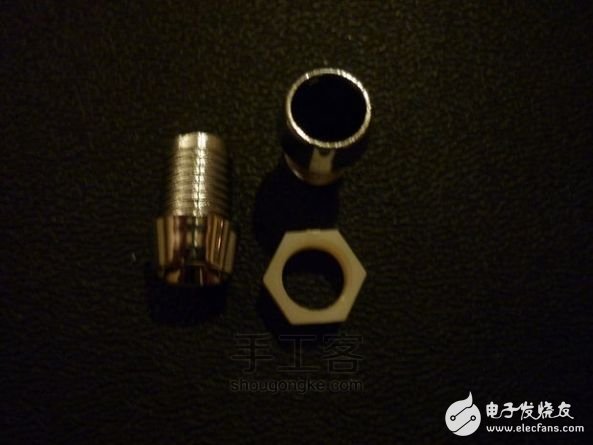
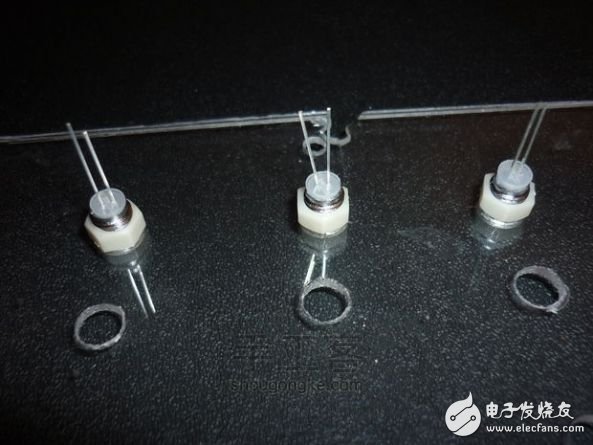
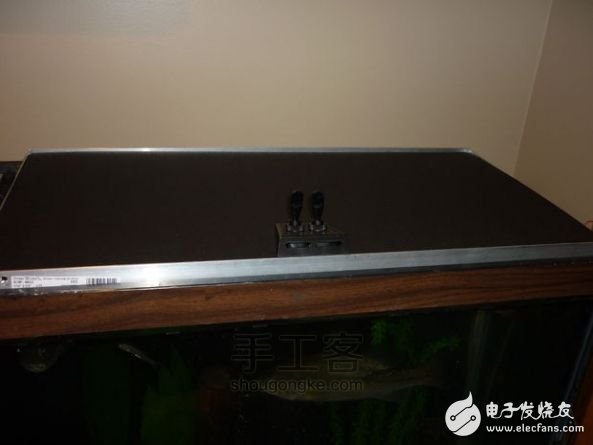
I bought a fish tank and kept some inexpensive fish. At first I didn't plan to decorate it, but after seeing a friend's house, I decided to install an aquarium light on it. Such lighting conditions can make the overall look more beautiful. This method of making aquarium lights may be a bit complicated, but in fact, as long as you have done it once, you will feel that it is not difficult. Materials such as LED lights are available on Taobao or some hardware stores, and they are not expensive. You can save a lot of money just by doing it. step 1: 1. Preparation materials: soldering iron, solder, LED light, plexiglass (acrylic), drill, aluminum, black plastic film, DC power supply Step 2: 2. Design the layout of your LED night light: First, you need to design the LED lights you want to arrange. I just designed a line of equal width and equal length. Of course, you can think of your own arrangement, and you don’t need to care about my method. . Secondly, you need to measure the front edge of the lower tank to make sure that the plexiglass (acrylic) can fit them. Remember to make it smaller, because you also need to add a piece of aluminum. I'm not sure that trimming of plexiglass (acrylic) is a good way. I just used a knife when trimming, then made a scratch and broke it gently. Then you have determined the position of the LED you want and built the plexiglass shape, you start to drill holes to facilitate the clamping and fixing of the LED you selected. Step 3: 3. Fix the LED: I chose 5mm, and the material is plastic chrome-plated, which is cheaper. Just fix these little things in the holes you drilled. Step 4: 4. First install your LED light in a transparent plastic LED fixing slot. The positive pole of the LED light is longer, and the negative end is relatively small. If the length of the positive and negative poles of your LED is similar, so that you cannot distinguish the positive and negative poles, then you can look at the inside of the LED light. The one with a small metal block is the positive pole. I arranged them according to the regular method of positive and negative poles, positive and negative poles, so it is clearer and clearer. Secondly, you need resistors, and the number of resistors is determined by the number of LED lights you need. Of course, in this part we may need to use some knowledge of high school physics --- Ohm's law. But you can also calculate with Du Niang's help. For example, for my lamp, I need a 100 ohm resistor. Then, when I design, I want my lights to have a luminous feel, so I choose the lights that I hope can produce effects are blue, and you need to distinguish them from white ones to ensure that they can always be bright. You can weld all the negative poles together but the blue positive pole should be welded separately. The most important thing is that I prefer diffused light, so I applied some hot melt glue on the LED to prevent a straight beam of light from appearing too abrupt. Step 5: 5. Finish your aquarium lamp: First of all, I added an aluminum edge around it to make it stronger and increase its aesthetics. The method is to drill a hole in the plexiglass and aluminum plate, and then fix it with screws and nuts. You need to pass the wires through the positive terminals of all white lights to determine which switch you want. The power supply used is direct current, then connect the positive and negative poles of your blue light and confirm the switch. If you want your aquarium light to look less messy, then buy some DC connectors to connect the light's power supply. Finally, we need to use a black plastic sheet, cut a hole in the plastic sheet, and fit it on the switch. Then you are ready to turn on the lights. You must be looking forward to your aquarium lights working well at this time! Ningbo Autrends International Trade Co.,Ltd. , https://www.vapee-cigarettes.com