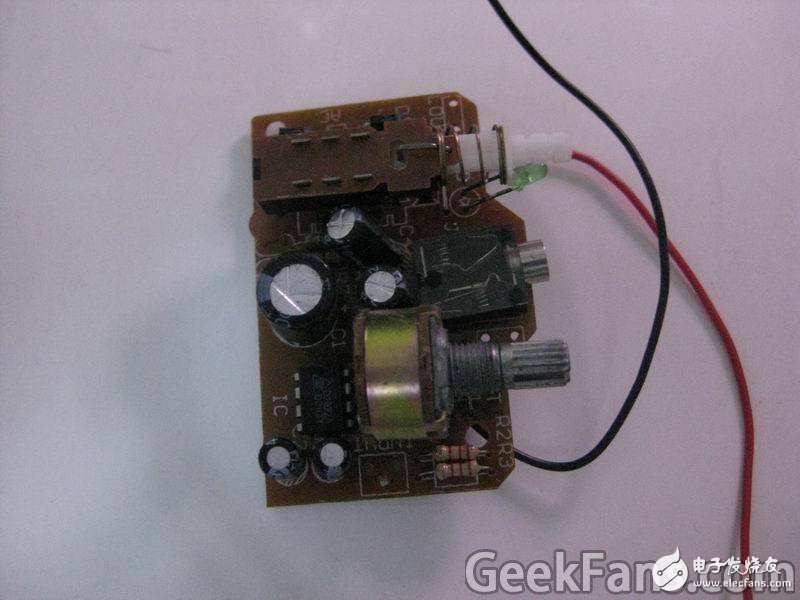
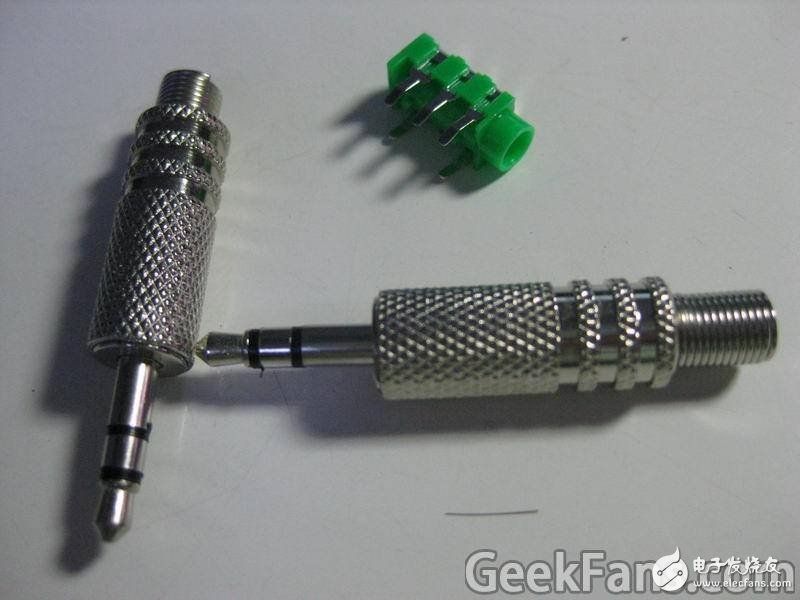
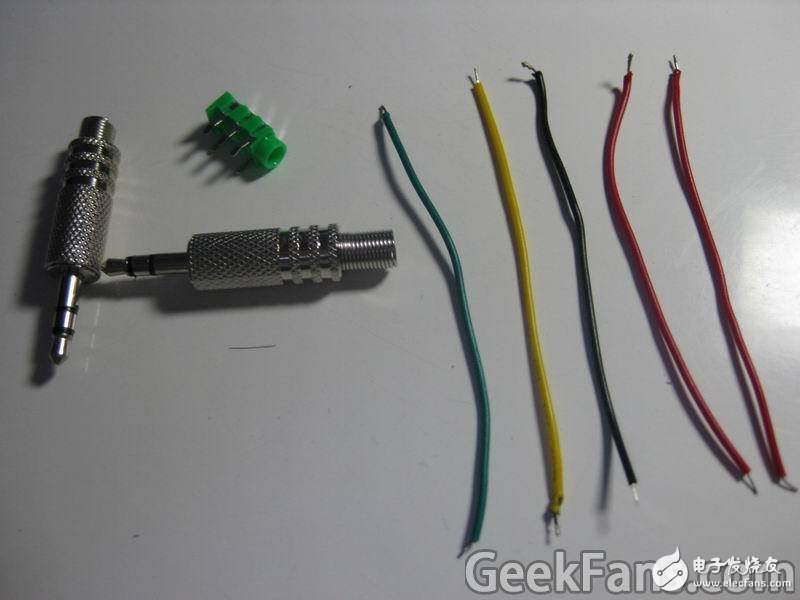
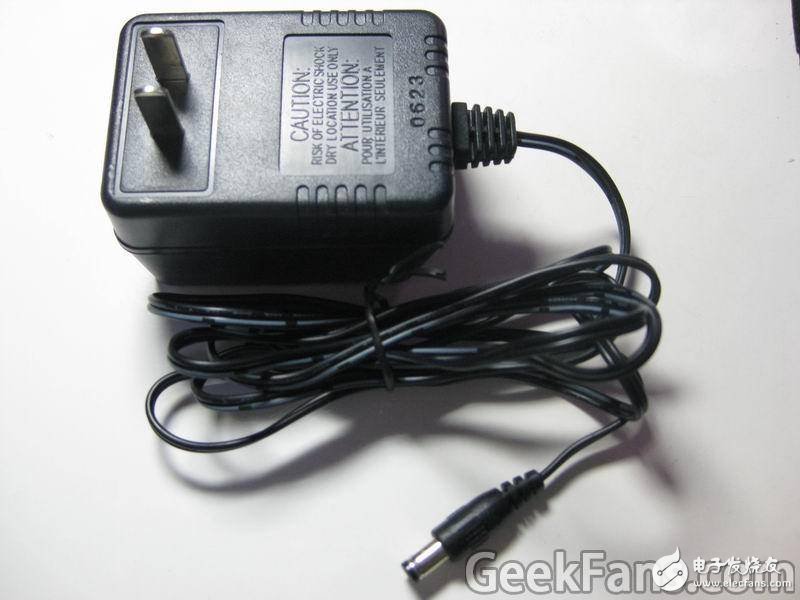
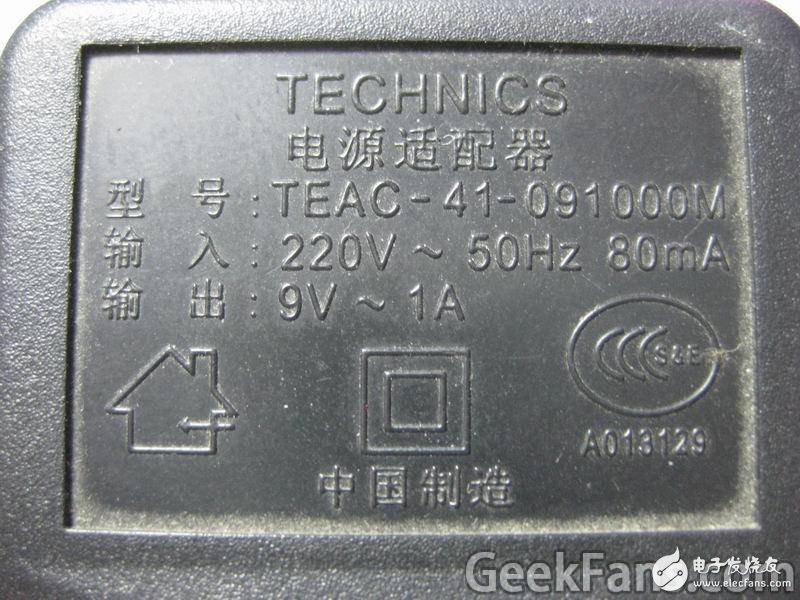
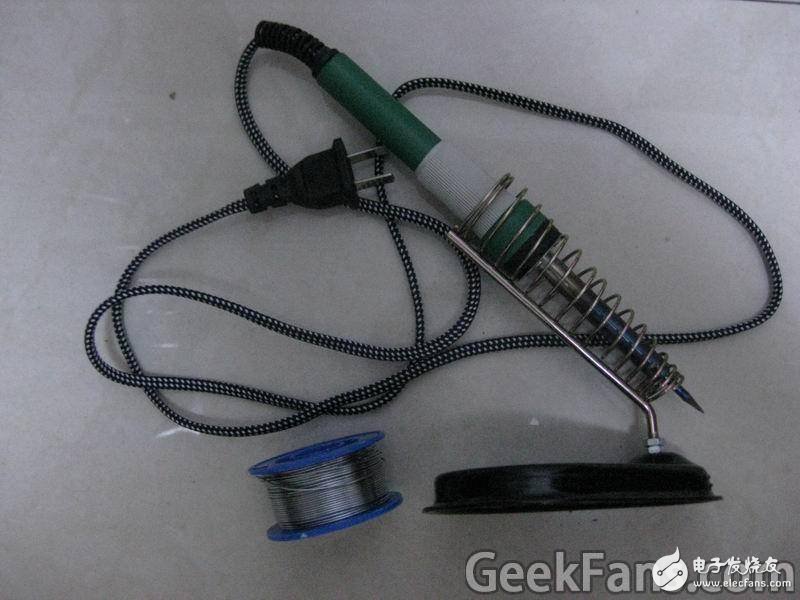
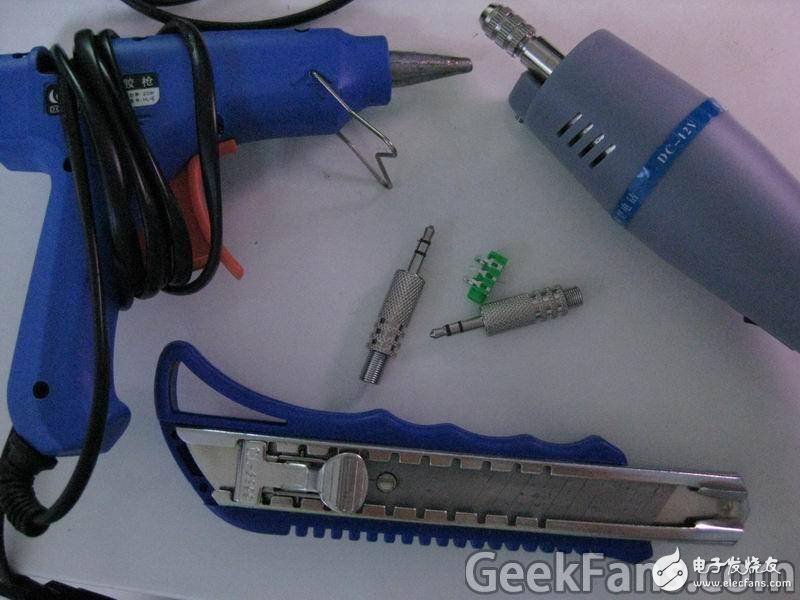
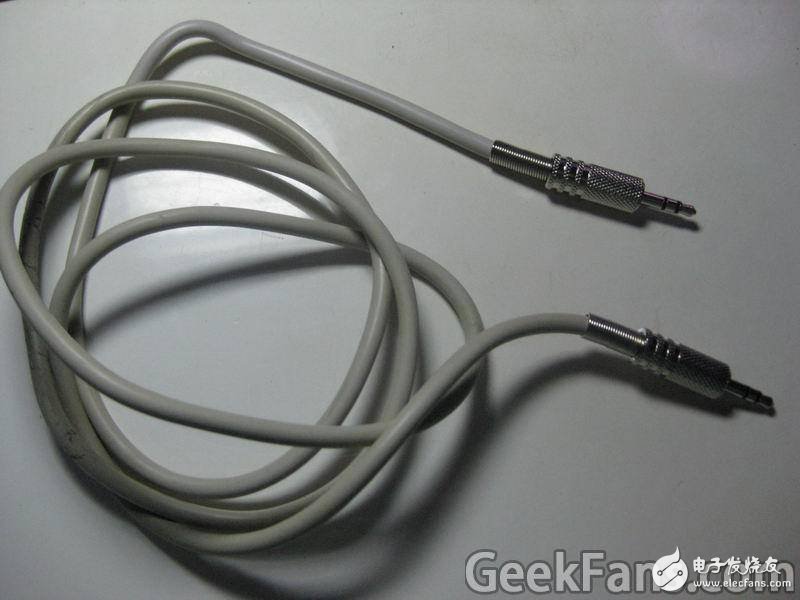
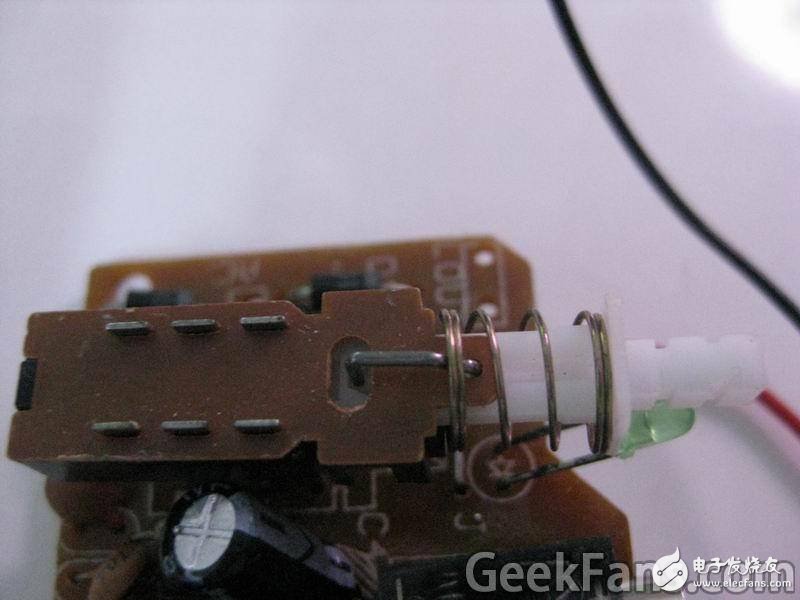
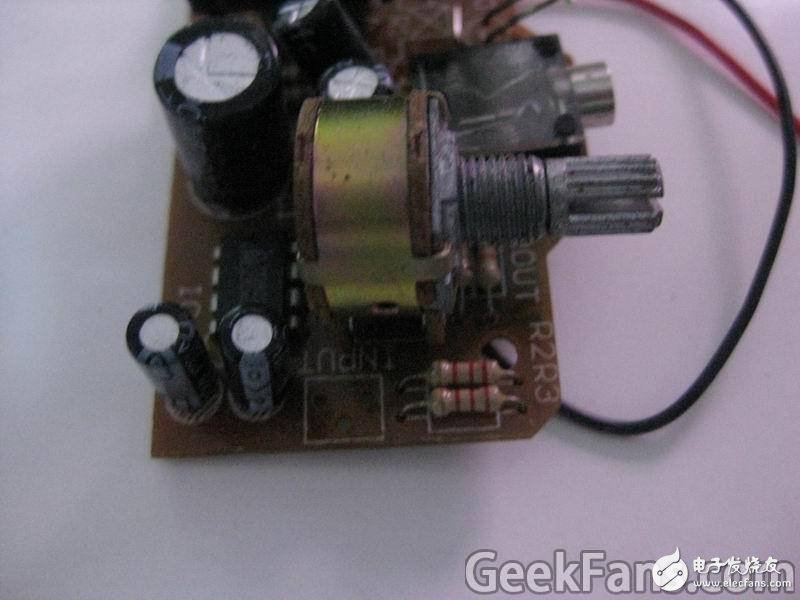
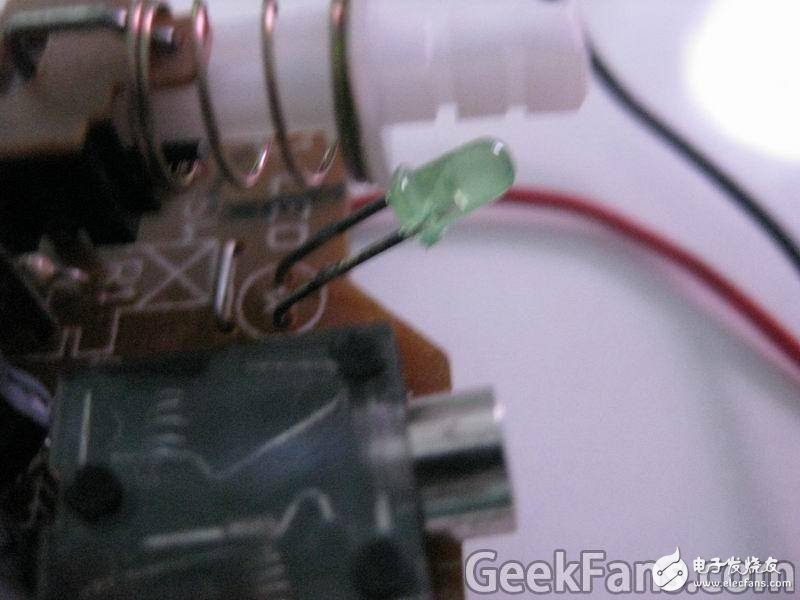
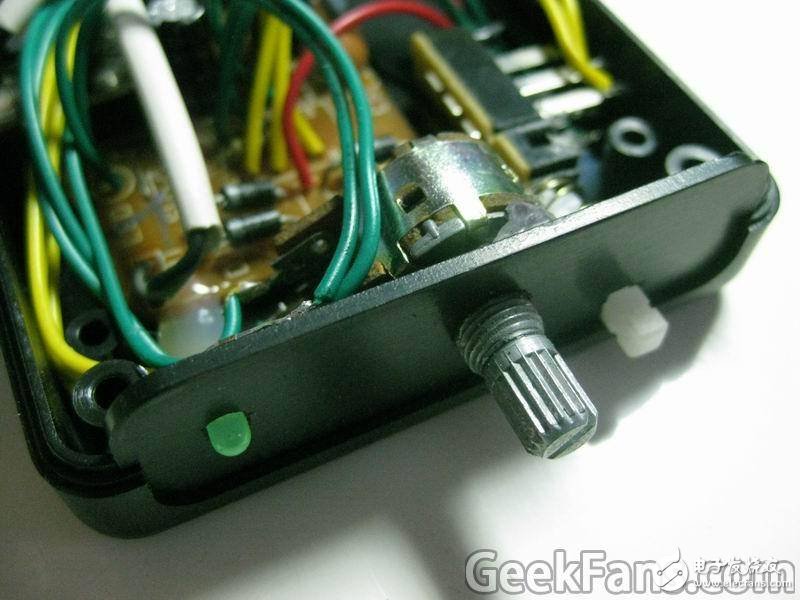
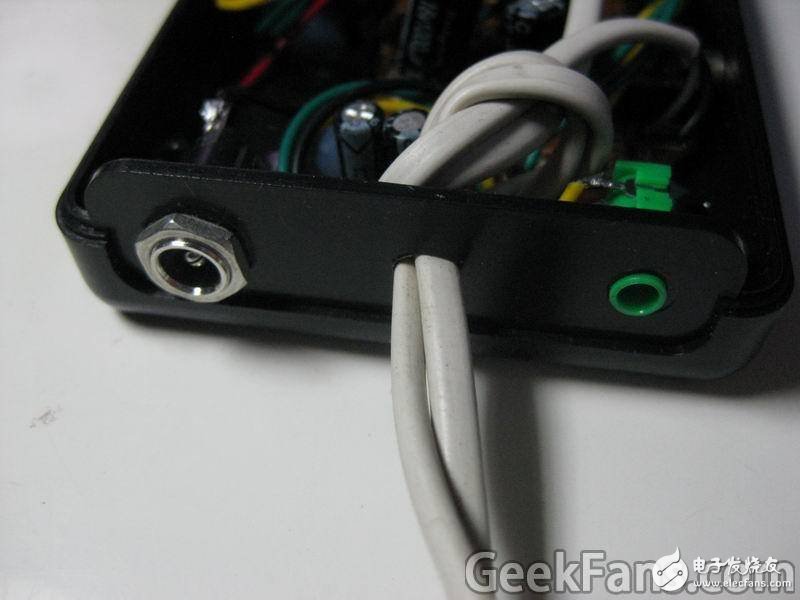
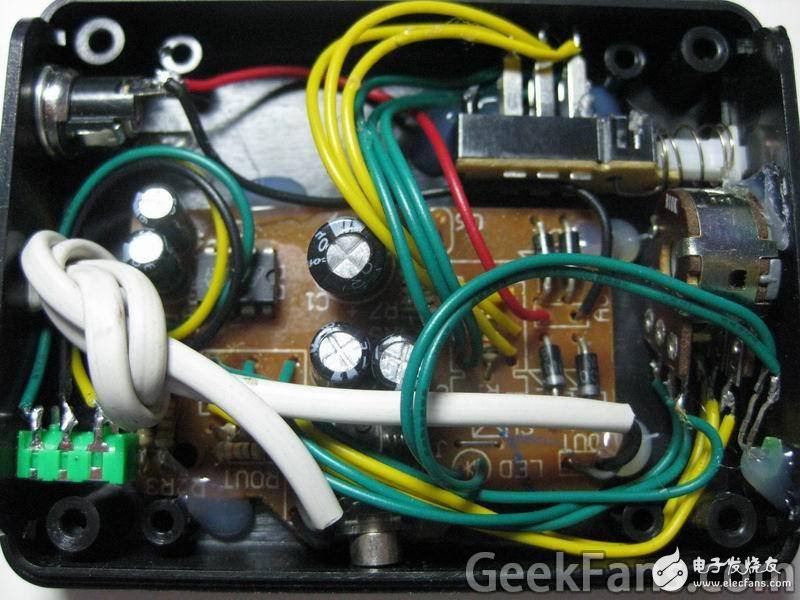
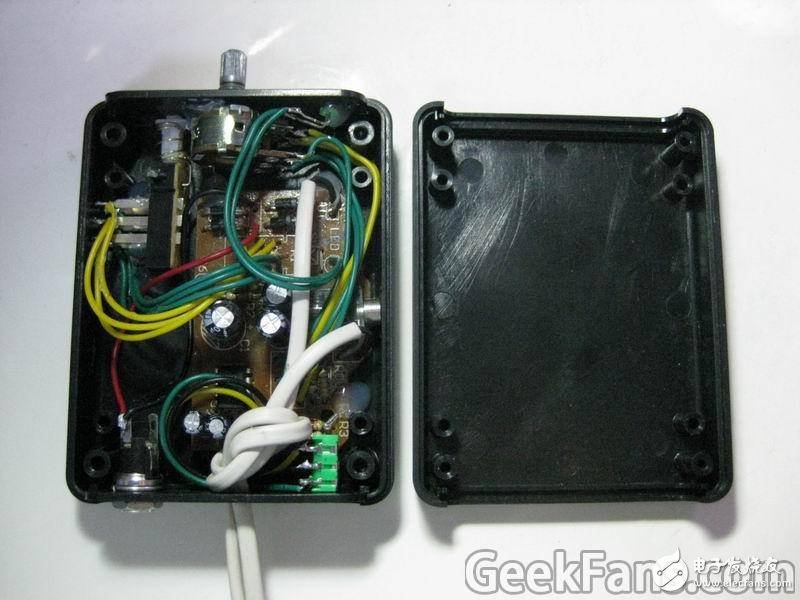
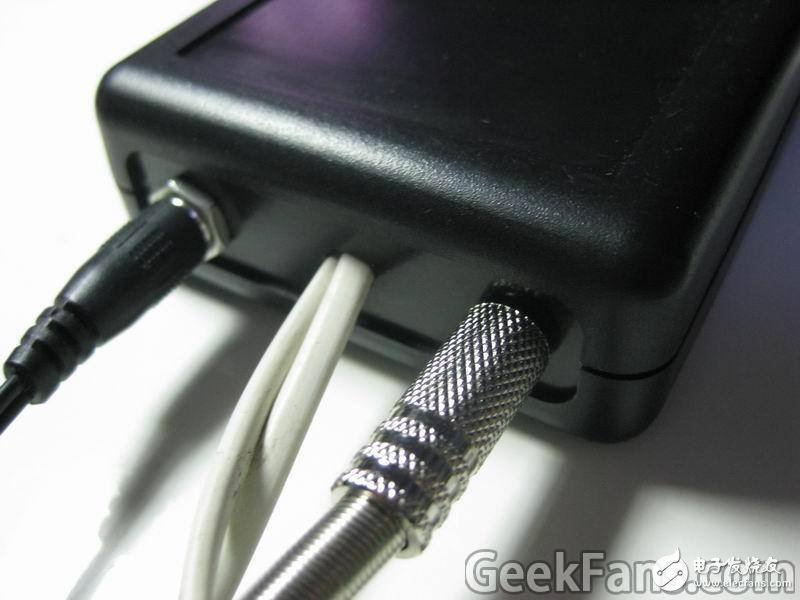
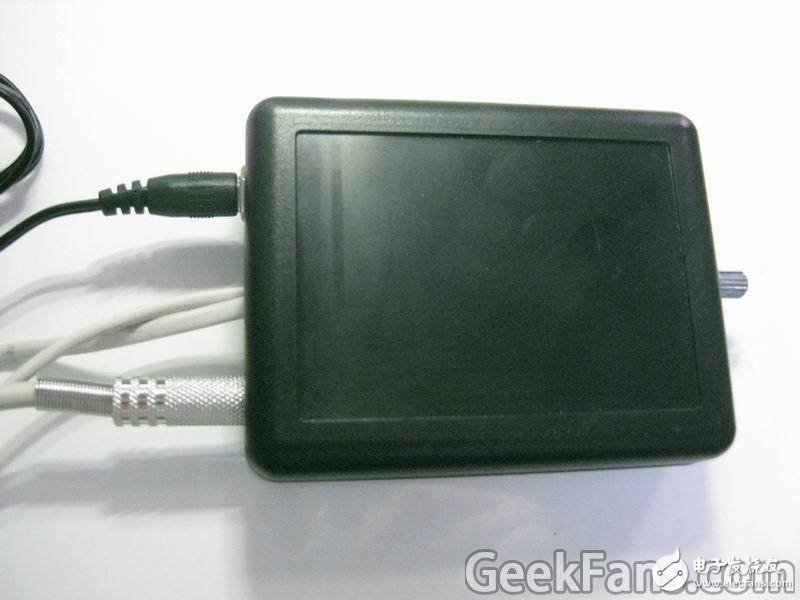
I was bored and went shopping on Taobao, and saw a power amplifier module, so I bought him on a whim, and it cost 1 yuan and 9 cents. Today the items came in the post. It’s great. After lunch, I started to assemble and make DIY amplifiers. 1. Before making the power amplifier, you must first prepare the materials and tools. This is a DIY plastic box, and a simple power amplifier module (I bought it online for 1.9 yuan) There are also two 3.5 flexible headphone heads and a headphone 3 headphone jack (the green one) Then prepare some 8CM long double-head tinned wires of various colors, Prepare a 9V power supply I chose a 9V 1A power supply. Of course, the current should be smaller. It depends on the speakers that your power amplifier is connected to. If the speaker power is large, use a power supply with a larger current. 1A is generally sufficient ( I used a pair of Aihua big speakers I bought before, and I don’t have any power amplifiers. It costs a few thousand to buy a good power amplifier. Forget it, I will just make one this time, huh). There is a necessary tool Electric soldering iron and solder There are these few tools, wallpaper knife, small electric drill, glue gun. 2. After the preparations are finished, let's start DIY In order not to affect the progress, first make a double 3.5-head audio cable (or audio pairing cable). The wire body can be optional, but it must be three-core wire or multi-core wire. You can use whatever you have. The finished line is as shown above. According to the size and planned structure of the box, this small power amplifier module cannot be used directly, so it has to be disassembled and reassembled. What we have to do now is to remove the 6-pin switch. As for how to get it, I believe you all have a brilliant trick, so I will ignore it here. Remove the 6-pin switch and set it aside. Go ahead and continue dismantling, Then remove the rotating rheostat and put it aside for free combination. Now go and remove the green light-emitting diode. Remove the light-emitting diode and put it aside as well. The next thing to do is the key work. Open the small black box prepared in advance, remove the baffles on both sides, and drill round and square holes according to your own conditions and actual conditions. One side of the baffle board needs to be drilled with a hole and two round holes, which are equipped with 6-pin switch, rotary rheostat and light-emitting diode, and drill the appropriate size. Then, drill two round holes and one oval hole on the other baffle, which are a power jack and a 3.5 headphone jack, and two left and right audio cables. As shown below As for the details of drilling, I won’t say much here. Everyone has their own way (I use electric drill and wallpaper knife here), it varies from person to person. Then what you need to do is to connect the removed parts with 8CM short lines of each color to distinguish the colors according to the original disassembled connection, and connect the left and right channels, as shown below This is basically done. After soldering, check if there are any soldering errors. If everything is ok, you can use a glue gun to glue the circuit board to a suitable position in the box. After the glue cools, you can It's a test machine. The finished look is like this, as shown below Finally, connect the two white wires (left and right channel audio wires) to the speakers you prepared, and then connect the pre-made double-head 3.5 audio signal input wires to the computer or MP3, 4, 5 and other audio devices That's it. Connect the power, the LED lights up, and you're done, you can sit on the sofa and enjoy the wonderful music. The audio effect I tried was very good, the same as the more than one hundred computer speakers I bought outside, and it can be said to be even worse. Ha ha The final appearance after completion, as shown below I want to listen to the music and DIY the next fun stuff. Ha ha. Solar cables are available for indoor and outdoor use for flexible and fixed installations with high mechanical strength in extreme weather conditions. Solar Cable,Red Tuv Solar Cable,Pvc Copper Electrical Solar Cables,Solar Copper Wire Cable Ruitian Cable CO.,LTD. , https://www.hbruitiancable.com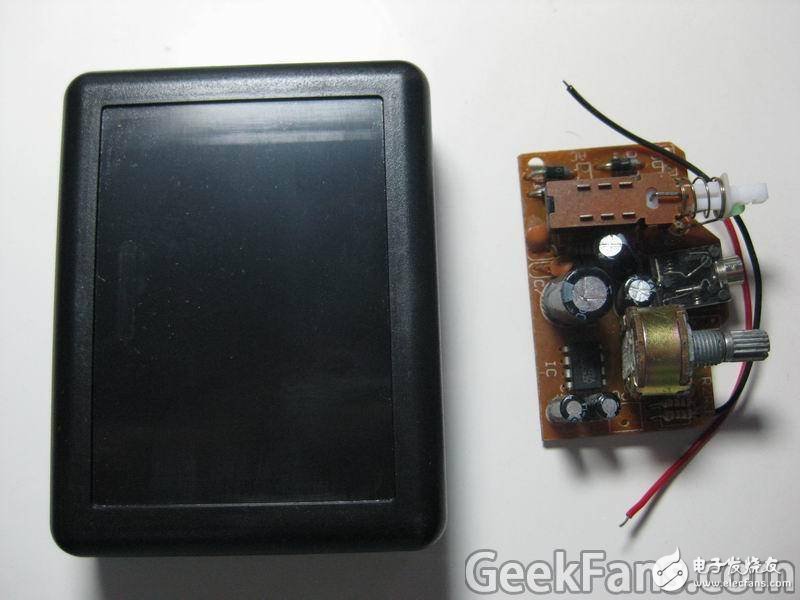
The cables are designed to withstand the harsh environmental conditions that occur in any fixed, mobile, rooftop or building integrated PV installation.
Applications
Solar energy is used to generate photovoltaic (PV) power by capturing sunlight. The energy is used for solar heating and, thanks to energy conversion, it can also be used to generate electricity. As a result, the demand for solar cables is also increasing. Solar cables are interconnecting cables used in photovoltaic power generation. Solar cables interconnect the solar panels and other electrical components of the PV system. Solar cables are designed to be UV-resistant and weatherproof.
Cable construction
Conductor: fine wire tinned copper conductor.
Insulation: UV-resistant, cross-linkable, halogen-free, flame-retardant compound for core insulation.
Core marking: red, black or natural Sheath: UV-resistant, cross-linkable, halogen-free, flame-retardant compound for the insulation sheath.
Cable colour: black or red
Advantages
Solar cable modules operate at high temperatures and are exposed to a wide range of environmental conditions.
These cables need to meet the sunlight resistance and temperature ratings required by the environment.
Solar cables are manufactured for photovoltaic applications.
Both cable types typically contain XLPE insulation and are resistant to sunlight and/or direct burial.